For couples
How to collect your guests' wedding photos
Collect the wedding photos your guests captured with one sharing link, tested QR cards, simple instructions, and a plan to save your memories.
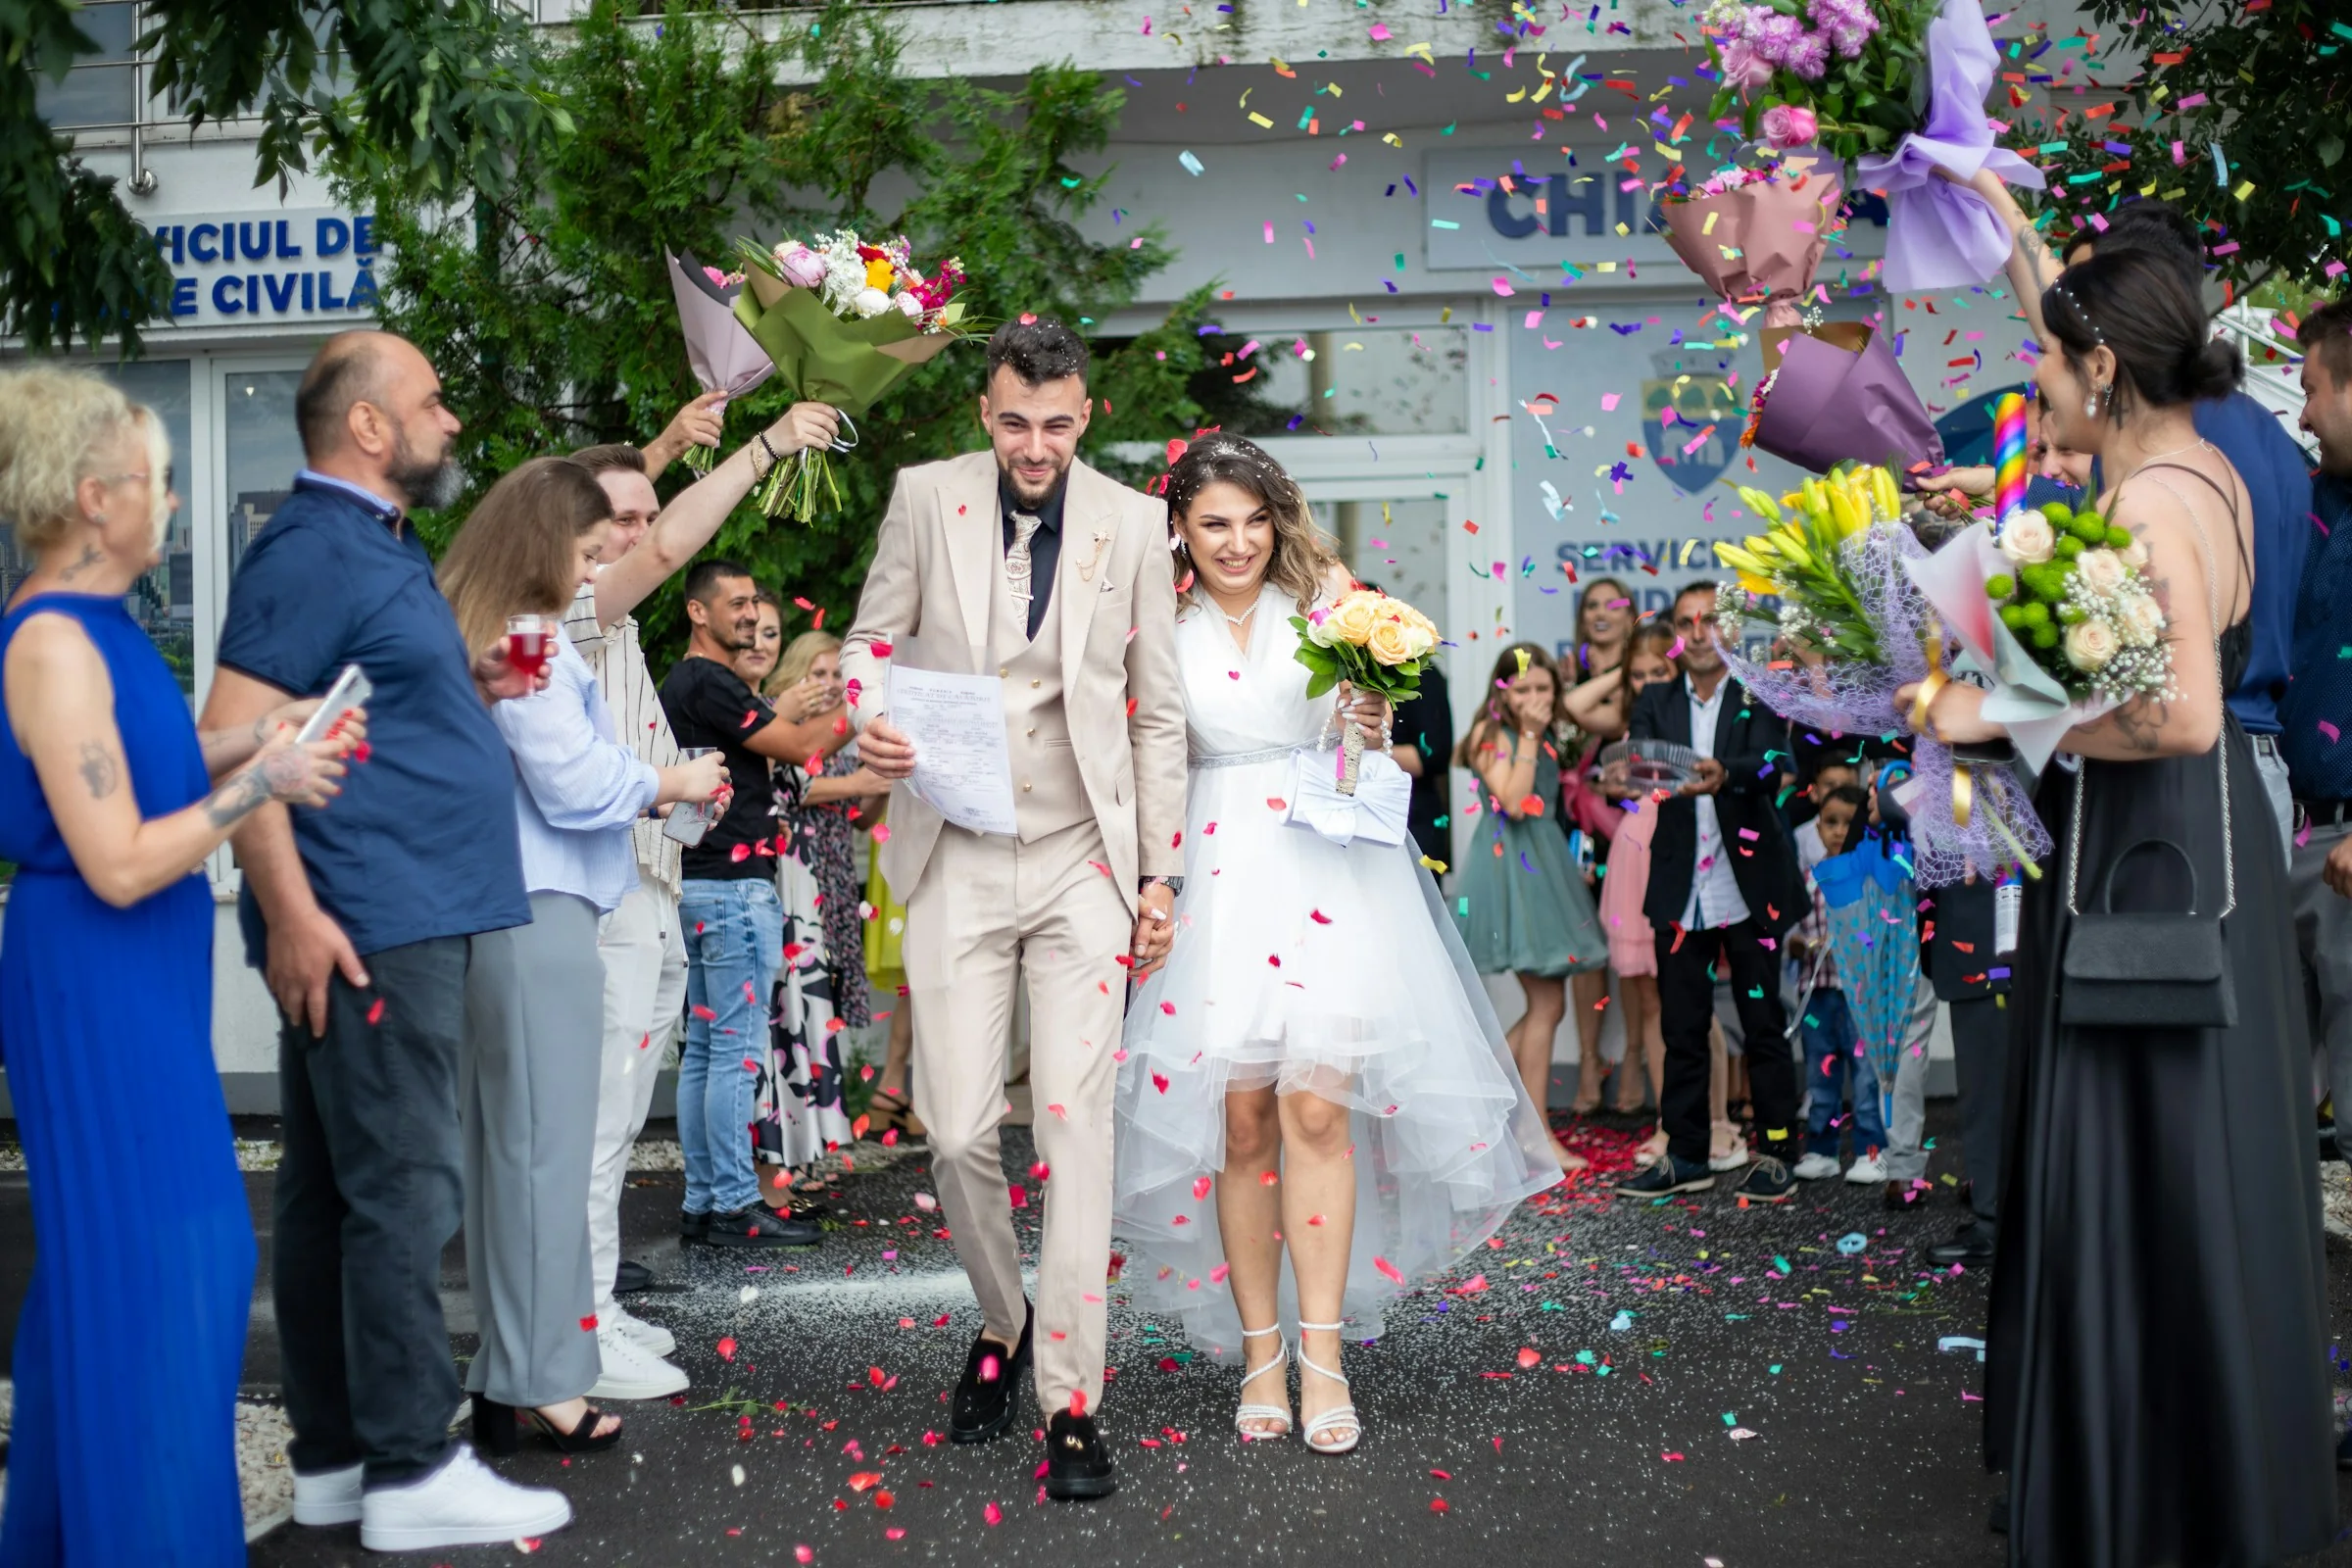
A few days after your wedding, someone sends you a photo you had no idea existed. Your parents dancing. Your friends laughing during cocktail hour. A quiet moment just before you walked down the aisle.
You want those photos. You probably do not want to spend the next month asking everyone to check their camera roll.
Set up one place to share them before the wedding. Give guests a clear invitation. Then make it easy to contribute when they have time.
1. Choose one place for guest photos
Start by asking your photographer whether their gallery supports guest contributions. If it does, ask how those photos will sit alongside the professional collection.
If you use a separate service, keep one guest sharing link for the whole wedding. Put that same link on your wedding website, printed cards, and follow-up message.
Before choosing the setup, check:
- Does it work on a phone?
- What access steps will guests need to complete?
- Can guests upload several photos at once?
- Are videos supported, and what limits apply?
- Who can view or download contributions?
- Can you remove a photo you do not want in the gallery?
- When do uploads close, and when does gallery access end?
A QR code is a way to open a link. It does not tell you who can access the photos. Check the actual settings with whoever manages your gallery.
2. Ask someone to test it
Before you print anything, send the link to a family member or friend. Ask them to open it and add a sample photo without your help.
Then test the printed QR code on a phone. Check that it opens your event and is large enough to scan comfortably.
Keep a short link under the code. It gives guests another way in if their camera will not scan it.
If videos are part of your plan, test a short clip too. A successful photo upload does not tell you whether a video will work.
3. Use a sign that explains what to do
Guests should understand the invitation at a glance. You do not need a paragraph about the gallery.
Try this wording:
"Caught a moment we missed? Share your photos from today. Scan the code or visit [short link]."
Add the upload closing date if you have one.
Ask your planner or venue where the cards can go. A welcome table or reception table may work well. Keep signs out of the photographer's working space and away from ceremony sightlines.
4. Ask for the moments you would love to see
"Upload your photos" is clear. A few examples can make it more personal.
Invite guests to share:
- A reunion with someone they had not seen in years.
- A table photo from the reception.
- The dance floor from their side of the room.
- A candid moment with family.
- A favorite detail from the day.
Make the invitation optional. Guests do not need to document the whole wedding.
If you are having an unplugged ceremony, say that clearly. Ask people to put their phones away during the ceremony and share photos from other parts of the celebration. They should also leave space for your professional team to work.
5. Let guests share later
People may have weak reception at the venue. Others will prefer to enjoy the party and sort their photos the next day.
Tell them they can keep the photos on their phones and upload later, while your gallery accepts contributions. Choose one person to handle questions so you are not troubleshooting on your wedding day.
After the wedding, include one friendly reminder in your thank-you message:
"Thank you for celebrating with us. If you took a photo or clip you would like to share, we would love to see it: [gallery link]. You can add yours until [date]."
Use the actual closing date. If guests have already contributed, thank them rather than asking again.
6. Save the photos you want to keep
Before gallery access ends, download the memories you want to preserve. Open a few downloaded files to check that they work. Keep another copy in a separate location.
Also take a moment to review what you plan to share publicly. Someone may be happy to send you a candid photo without wanting it posted on social media. Ask before posting a sensitive or personal moment. Check with parents before sharing identifiable photos of children.
A quick checklist before the wedding
- One sharing link for guests.
- A tested QR code and a readable short link.
- Clear access and viewing settings.
- A named person who can help.
- An agreed upload period.
- A plan to download and keep your photos.
Smara is one option for an event gallery with link or QR sharing and optional guest contributions. Explore the guest experience and confirm the settings for your wedding before sharing the link.
The useful part is having a plan guests can follow. They know where their photos belong. You have a place to find the moments you missed.